Chess Playing Robotic Arm
using Raspberry Pi and
Stockfish Engine
Introduction

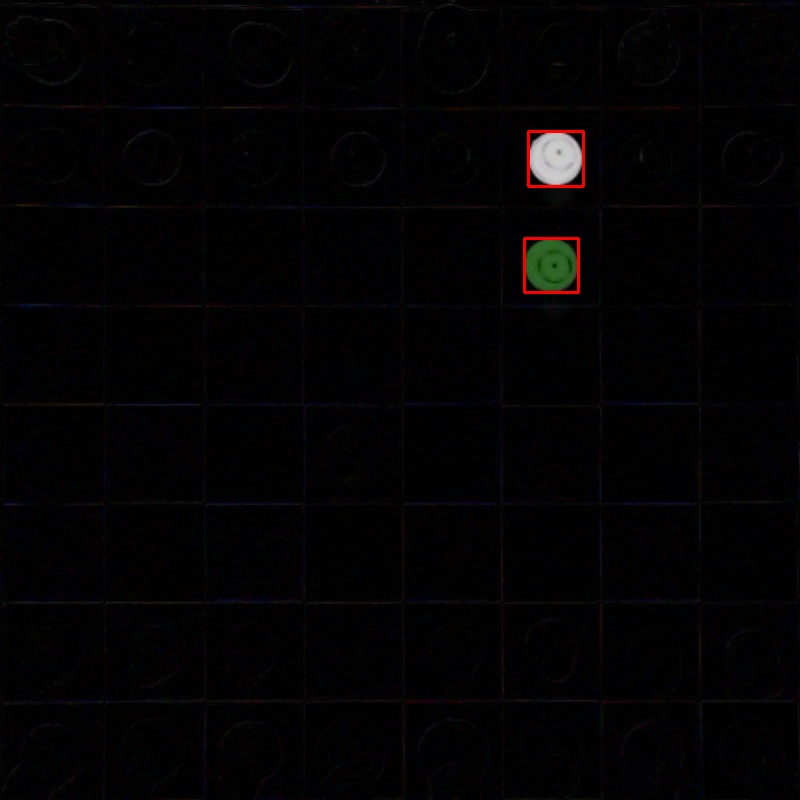
As the Technical Head at Cretus: The Robotics & Automation Club, I contributed to the development of a chess-playing robotic arm powered by Raspberry Pi 4B and the Stockfish Engine in Python teaming up with four collaborator teams. The robotic arm’s functionality includes capturing images of the chessboard through a camera, analyzing them using image processing to identify opponent moves, and utilizing the Stockfish Engine to calculate the best possible move. Our team was responsible and involved in designing manipulator links and assembling the hardware for the manipulator.
Methodology
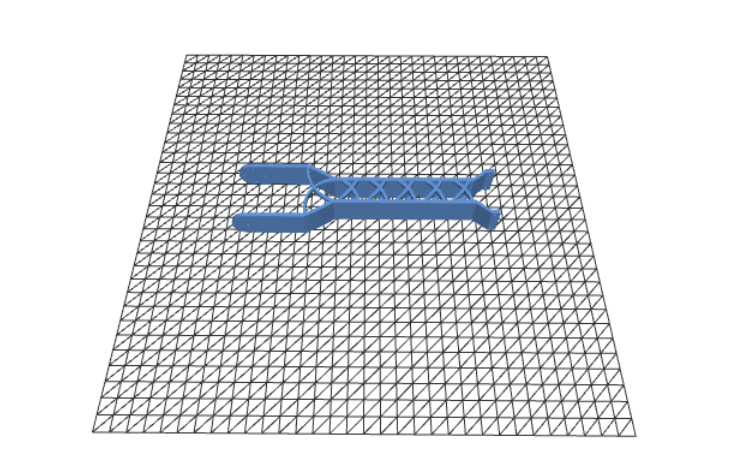
Hardware/Assembly: The hardware configuration for the Automated Chess System incorporates key components, including 3D-printed manipulator arm parts, a base plate, and gripper designed for precision in manipulating chess pieces. Driving the system’s computational capabilities is the Raspberry Pi 4B, functioning as the central control, a Logitech C270 webcam for visual input, Dynamixel stepper motors to ensure controlled and precise movements of the manipulator arm during gameplay. Additionally, the custom chessboard and 3D printed pieces adds a unique and personalized touch to the system, enhancing both functionality and ease of detection by the camera. I headed the design team and design manipulator links, and Chess pieces using AutoCAD software. We also assembled the robotic arm setting up the controlled and testing the real-time webcam feed.


I headed the design team and design manipulator links, and Chess pieces using AutoCAD software. We also assembled the robotic arm setting up the controlled and testing the real-time webcam feed. The
import cv2
import torch
from torchvision import models, transforms
from custom_dataset import MyLazyDataset
from torchvision.models.quantization import mobilenet_v3_large
import torchvision
import torch
from torchvision import transforms, datasets
from torch.utils.data import Dataset, DataLoader
import torchvision.models.quantization as models
import torch.optim as optim
import time
import copy
from torch import nn
import numpy as np
from PIL import Image

import pyrealsense2 as rs

# Set device
DEVICE = 'cuda' if torch.cuda.is_available() else 'cpu'

# Load the model
model = models.mobilenet_v2(pretrained=False)
model.load_state_dict(torch.load('D:\\Documents\\Exp_Data\\datafinaldatamain.pt', map_location=torch.device('cpu')))
model.to(DEVICE)
model.eval()

# Define data transforms for the test data
data_transforms_test = transforms.Compose([
    transforms.ToTensor(),
    transforms.Normalize([0.485, 0.456, 0.406], [0.229, 0.224, 0.225])
])

pipeline = rs.pipeline()
config = rs.config()
config.enable_stream(rs.stream.color, 640, 480, rs.format.bgr8, 30)
config.enable_stream(rs.stream.depth, 640, 480, rs.format.z16, 30)  # Enable depth stream
pipeline.start(config)

fno = 0
num_segments = 3

try:
    while True:
        frames = pipeline.wait_for_frames()
        color_frame = frames.get_color_frame()
        depth_frame = frames.get_depth_frame()
        color_image = np.asanyarray(color_frame.get_data())

        # Get the width and height of the frames
        width, height = color_frame.get_width(), color_frame.get_height()

        segment_height = height // num_segments

        for i in range(num_segments):
            start_y = i * segment_height
            end_y = (i + 1) * segment_height
            segment = color_image[start_y:end_y, :]
            input_image = Image.fromarray(cv2.cvtColor(segment, cv2.COLOR_BGR2RGB))
            input_tensor = data_transforms_test(input_image).unsqueeze(0).to(DEVICE)

            # Calculate center coordinates
            center_x = width // 2
            center_y = start_y + (segment_height // 2)

            # Get depth value at center point
            depth_value = depth_frame.get_distance(center_x, center_y) if depth_frame else 0.0

            # Draw a point at the center
            cv2.circle(color_image, (center_x, center_y), 3, (0, 255, 0), -1)

            with torch.no_grad():
                outputs = model(input_tensor)
                _, preds = torch.max(outputs, 1)


            if preds.item() == 0:
                label = "Downstairs"
            elif preds.item() == 1:
                label = "Overground"
            else:
                label = "Upstairs"

            confidence = outputs[0][preds.item()].item()

            cv2.rectangle(color_image, (0, start_y), (width, end_y), (0, 0, 0), 2)
            cv2.putText(color_image, f"Segment {i+1}", (10, start_y + 30), cv2.FONT_HERSHEY_SIMPLEX, 1, (255, 255, 255), 2, cv2.LINE_AA)
            cv2.putText(color_image, f"Class: {label}", (10, start_y + 60), cv2.FONT_HERSHEY_SIMPLEX, 1, (0, 0, 255), 2, cv2.LINE_AA)
            cv2.putText(color_image, f"Confidence: {confidence:.2f}", (10, start_y + 90), cv2.FONT_HERSHEY_SIMPLEX, 1, (0, 0, 255), 2, cv2.LINE_AA)
            cv2.putText(color_image, f"Depth: {depth_value:.4f} m", (center_x + 10, center_y), cv2.FONT_HERSHEY_SIMPLEX, 0.4, (0, 255, 0), 1, cv2.LINE_AA)

        frame_display_string = "Frame: " + str(fno)
        cv2.putText(color_image, frame_display_string, (width - 100, 30), cv2.FONT_HERSHEY_SIMPLEX, 0.5, (0, 255, 255), 1, cv2.LINE_AA)

        cv2.imshow('RealSense Prediction', color_image)

        fno += 1

        if cv2.waitKey(1) & 0xFF == ord('q'):
            break

finally:
    pipeline.stop()

cv2.destroyAllWindows()Software Development/Operational Logic: The methodology for the Automated Chess System involved importing essential libraries and files, defining main variables, setting up a code for special runs, and creating functions for tasks such as position mapping, threshold calibration, and FEN notation conversion. Specific functions for image processing, including camera position calibration and perspective warping, are incorporated. Calibration for chessboard corners and the definition of chessboard boxes were crucial steps. The process included loading past games, initiating the main game loop, and ensuring a clean exit.
Results & Discussion
The results of the Automated Chess System project demonstrate its effectiveness in autonomously playing chess. The use of the Stockfish Engine facilitates intelligent move calculations, enhancing the system’s gameplay. The hardware components, including the gripper and base plate, contribute to the successful execution of moves. The methodology covers crucial aspects, such as camera calibration, image processing, and legal move validation. The system’s ability to detect and react to the opponent’s moves ensures a dynamic and engaging chess-playing experience. The manipulator was able to perfectly operate within the specified workspace and was tested by playing several games of chess against human players. Overall, the project demonstrates the feasibility of creating an autonomous chess-playing system through a combination of hardware components and sophisticated software algorithms.


Conclusion & Future Work
In conclusion, the Automated Chess System successfully showcases the integration of hardware components and advanced software algorithms to create a capable and engaging autonomous chess player. While the project has achieved its primary objectives, there is room for future enhancements. Potential avenues for improvement include refining the accuracy of move detection, optimizing the speed of decision-making processes, and exploring additional features for a more immersive gaming experience. Moreover, expanding the system’s compatibility with different chessboard designs and addressing any challenges encountered during prolonged gameplay could be valuable directions for future work. Overall, the project lays a solid foundation for the development of advanced robotic systems in the realm of board games.
Additional Documents
–
Guide: Vipin Shukla